On this page
Jupyter Kernel for Deno
Deno ships with a built-in Jupyter kernel that allows you to write JavaScript
and TypeScript; use Web and Deno APIs and import npm packages straight in your
interactive notebooks.
deno jupyter always runs with --allow-allCurrently all code executed in the Jupyter kernel runs with --allow-all flag.
This is a temporary limitation and will be addressed in the future.
Quickstart Jump to heading
Run deno jupyter --unstable and follow the instructions.
You can run deno jupyter --unstable --install to force installation of the
kernel. Deno assumes that jupyter command is available in your PATH.
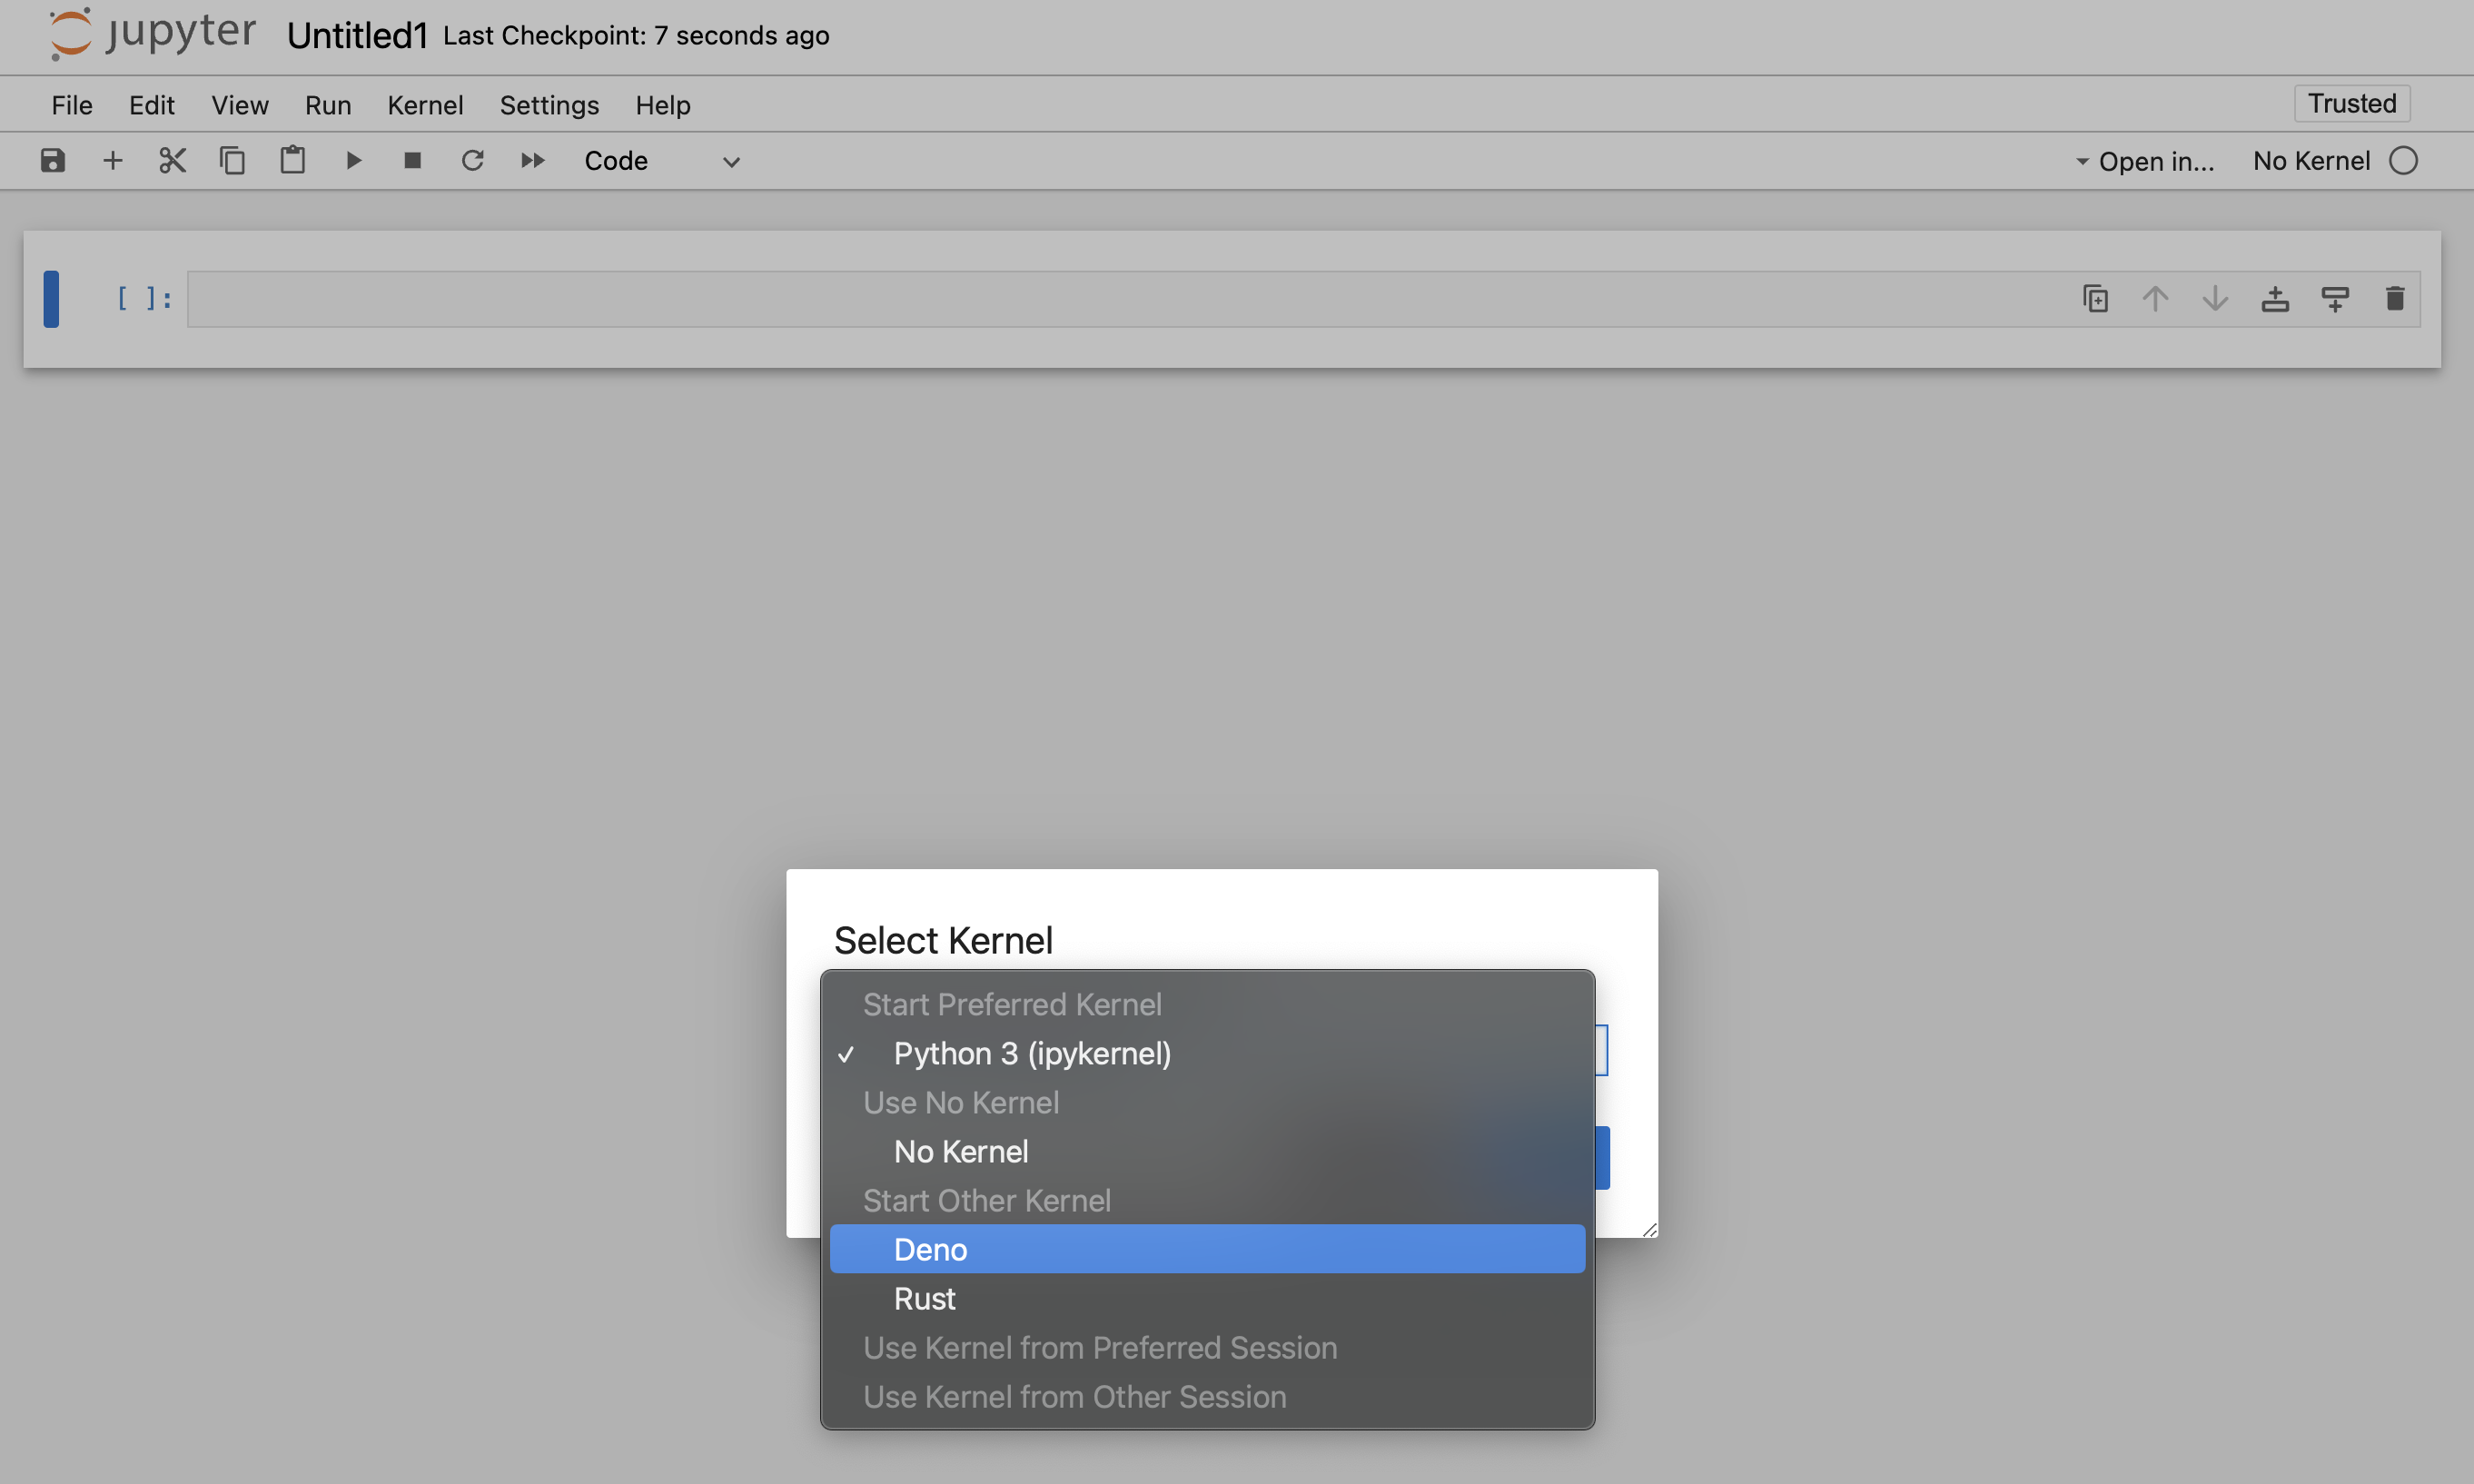
After completing the installation process, the Deno kernel will be available in the notebook creation dialog in JupyterLab and the classic notebook:
You can use the Deno Jupyter kernel in any editor that supports Jupyter notebooks.
VS Code Jump to heading
- Install the VSCode Jupyter extension
- When on a new or existing Notebook, click creating a new Jupyter Notebook select "Jupyter kernels" and then select Deno
JetBrains IDEs Jump to heading
Jupyter Notebooks are available right out of the box.
Rich content output Jump to heading
Deno.jupyter namespaces provides helper function for displaying rich content
in your notebooks
using MIME types that Jupyter supports.
The easiest way to provide a rich output is to return an object that that has a
[Symbol.for("Jupyter.display")] method.
This method should return a dictionary mapping a MIME type to a value that should be displayed.
{
  [Symbol.for("Jupyter.display")]() {
    return {
      // Plain text content
      "text/plain": "Hello world!",

      // HTML output
      "text/html": "<h1>Hello world!</h1>",
    }
  }
}
Example of an object that returns plain text and HTML output.
You can also use Deno.jupyter.$display instead of typing
Symbol.for("Jupyter.display")
This is a regular function, so you you can use any library you want to format
the output - eg. use @std/fmt/colors to provide a colorful output:
import * as colors from "jsr:@std/fmt/colors";

{
  [Deno.jupyter.$display]() {
    return {
      "text/plain": colors.green("Hello world"),
    }
  }
}
You can also use Deno.jupyter.display function to directly display the MIME
bundle:
await Deno.jupyter.display({
  "text/plain": "Hello, world!",
  "text/html": "<h1>Hello, world!</h1>",
  "text/markdown": "# Hello, world!",
}, { raw: true });

Your notebook frontned will automatically select the "richest" MIME type to display based on its capabilities.
Deno.jupyter provides several helper methods for rich output of common media
types.
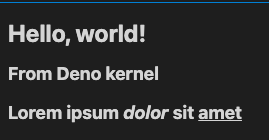
Deno.jupyter.html is a tagged template that will render provided string as an
HTML in the notebook.
Deno.jupyter.html`<h1>Hello, world!</h1>
<h2>From Deno kernel<h2>
<p>Lorem ipsum <i>dolor</i> <b>sit</b> <u>amet</u>`;
Deno.jupyter.md is a tagged template that will render provided string as a
Markdown document in the notebook.
Deno.jupyter
.md`# Notebooks in TypeScript via Deno 
**Interactive compute with Jupyter _built into Deno_!**`;

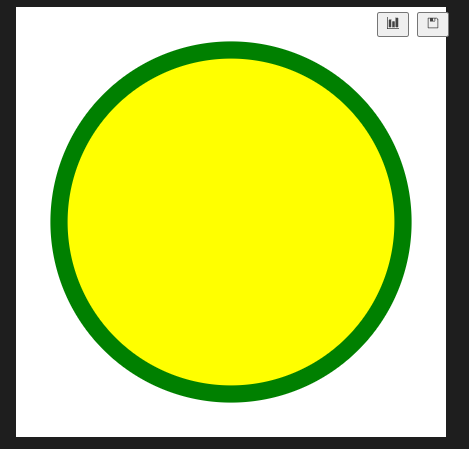
Deno.jupyter.svg is a tagged template that will render provided string as an
SVG figure in the notebook.
Deno.jupyter.svg`<svg xmlns="http://www.w3.org/2000/svg" viewBox="0 0 100 100">
      <circle cx="50" cy="50" r="40" stroke="green" stroke-width="4" fill="yellow" />
    </svg>`;
prompt and confirm APIs Jump to heading
You can use prompt and confirm Web APIs to wait for user input in your
notebook.
IO pub channel broadcasting Jump to heading
Deno.jupyter.broadcast allows to publish messages to the IO pub channel
allowing to provide live updates as the cell is evaluated.
Consider this example that prints a message before we start a compution and another when the computation is finished:
await Deno.jupyter.broadcast("display_data", {
  data: { "text/html": "<b>Processing...</b>" },
  metadata: {},
  transient: { display_id: "progress" },
});

// Pretend we're doing an expensive compute
await new Promise((resolve) => setTimeout(resolve, 1500));

await Deno.jupyter.broadcast("update_display_data", {
  data: { "text/html": "<b>Done</b>" },
  metadata: {},
  transient: { display_id: "progress" },
});
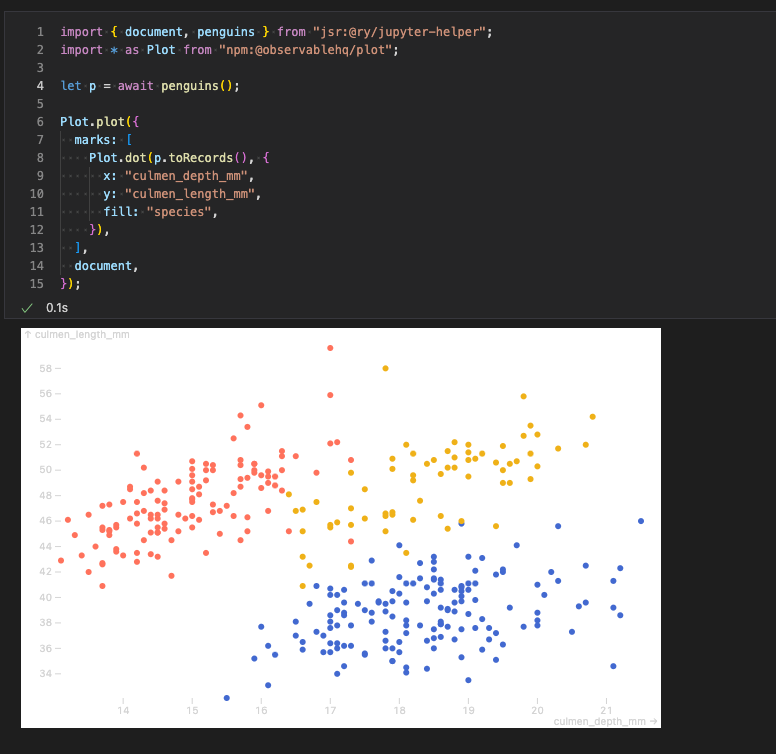
Examples Jump to heading
Here's an example of using @observablehq/plot to generate a chart:
import { document, penguins } from "jsr:@ry/jupyter-helper";
import * as Plot from "npm:@observablehq/plot";

let p = await penguins();

Plot.plot({
  marks: [
    Plot.dot(p.toRecords(), {
      x: "culmen_depth_mm",
      y: "culmen_length_mm",
      fill: "species",
    }),
  ],
  document,
});
See https://github.com/rgbkrk/denotebooks for more advanced examples leveraging data analysis and visualisation libraries like Polars, Observable and d3.
jupyter console integration Jump to heading
You can also use Deno Jupyter kernel in the jupyter console REPL. To do that,
you should launch your console with jupyter console --kernel deno.